most predictable elements not in the car are elements of electrical circuits. Can never be sure when it will fail tomorrow or next year. To one of these elements may include a vehicle lamp. Therefore, no matter what the road to get into a bad situation better carry in stock a set of different lamps, at least one light bulb for every consumer. Now I am talking only about the lamps and dipped beam, filament size, turns and illuminator rooms.
Now we analyze where what lamps are installed, and what they should be nominal.
Forheadlamp double-stranded bulb H4 60/55 W.
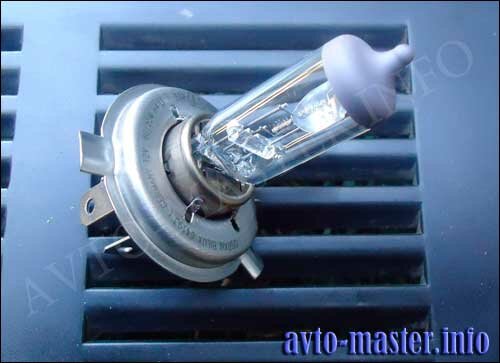
Figure 1 -double-stranded light beam and high beam.
Forfog lamps , single-stranded lamp H3 55W.
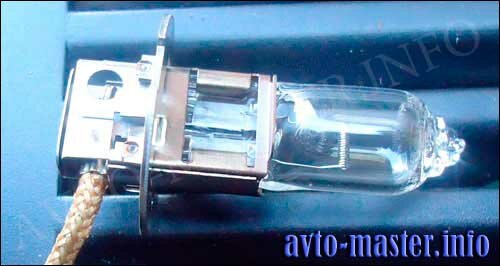
Figure 2 -fog lamp.
Forfront and rear indicators, reversing lights and rear fog lights 21 W.
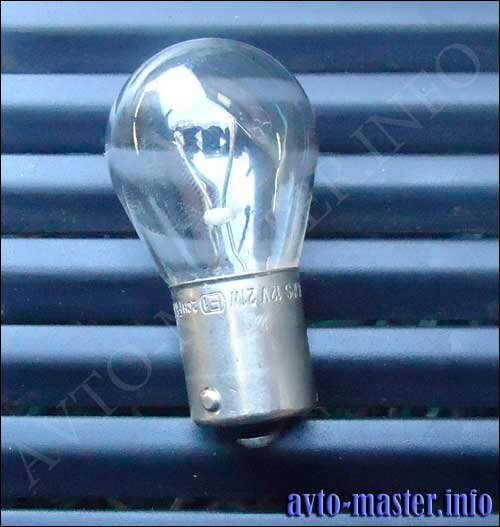
Figure 3 -lamp turns.
double stranded rear lamp and stop lamp size 21/5 W.
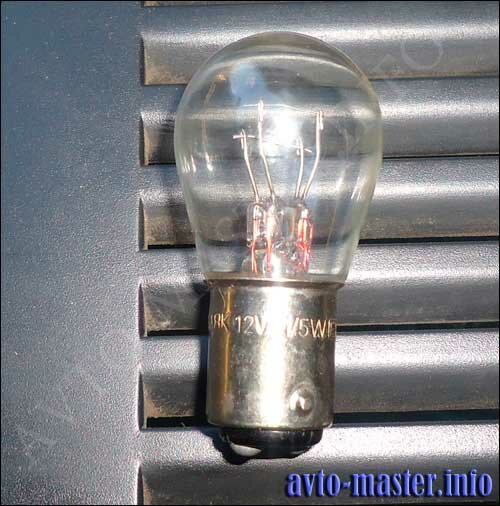
Figure 4 -Rear Lamp dimensions and stop signals.
Forfront dimensions and light plate 4 watts.
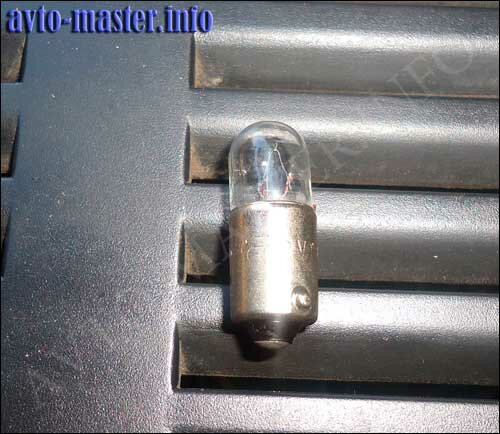
Figure 5 -Front Lamp dimensions.
Now we discuss technology replacement lamps themselves.
Replacement lamps and dipped beam.
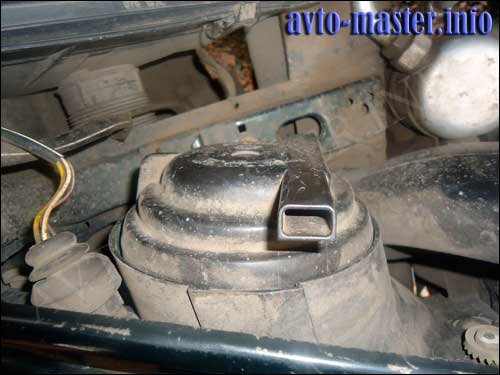
Figure 6 -Front Cover lights.
Turning backheadlight cover, remove it.
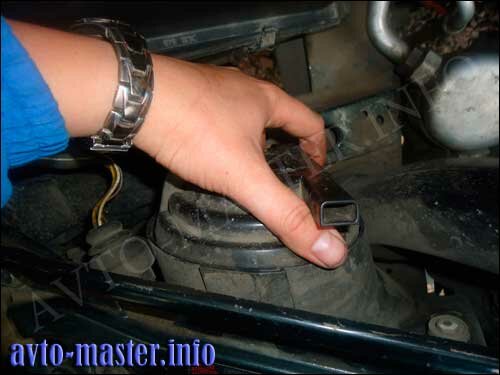
Figure 7 -Removing the cover headlamp.
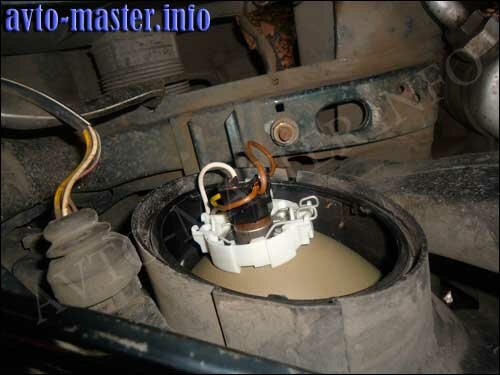
Figure 8 -Headlight without the rear cover.
snaps 2 clips holding the bulb itself.
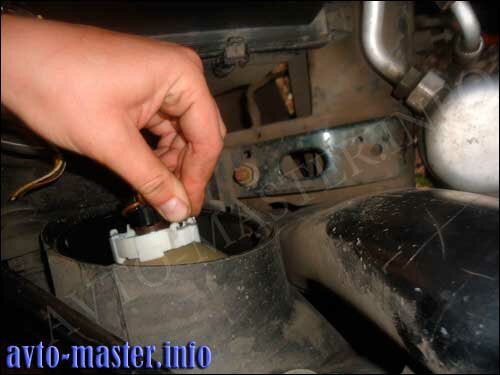
Figure 9 -latch snaps headlight low and high beam.
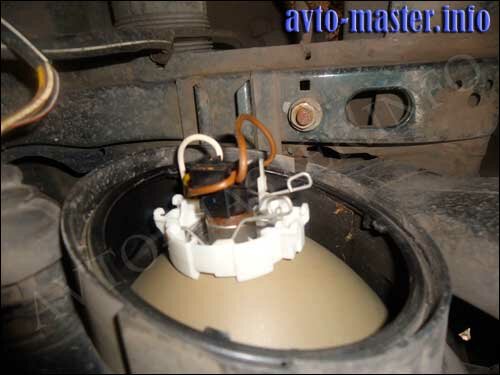
Figure 10 -Latches headlight low and high beam.
Otschelknuv latch allot them aside and extract the bulb for replacement.
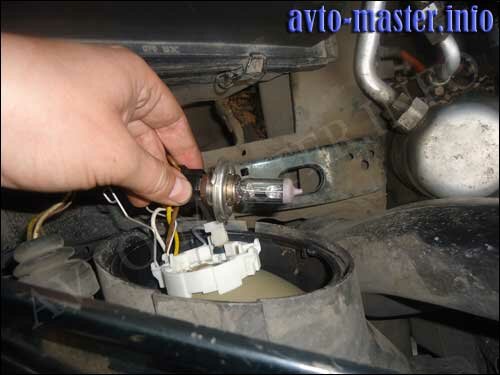
Figure 11 -Take out the lamp and dipped beam.
Replacement lamps front dimensions.
Bulb size is directly under the lamp and dipped beam. Remove the connector from the bulb size and by squeezing the thumb latch, remove it from the lights.
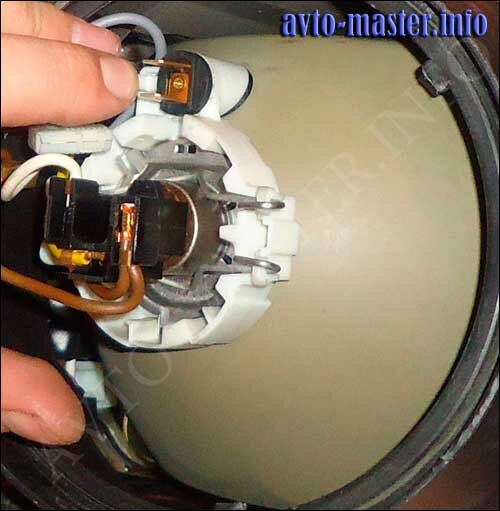
Figure 12 -latch snaps front lamp envelope.
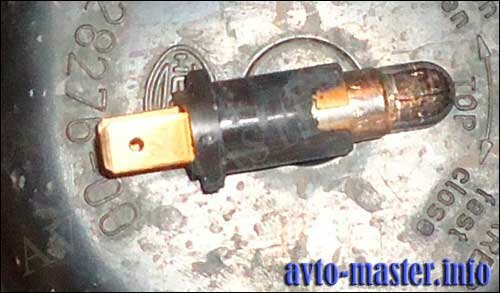
Figure 13 -Chuck and the front lamp envelope.
Push the bulb, turn it counter-clockwise and pull out of the cartridge.
Replacing the front corners.
To change the bulbs turns, looking under the hood and find the latch indicator.
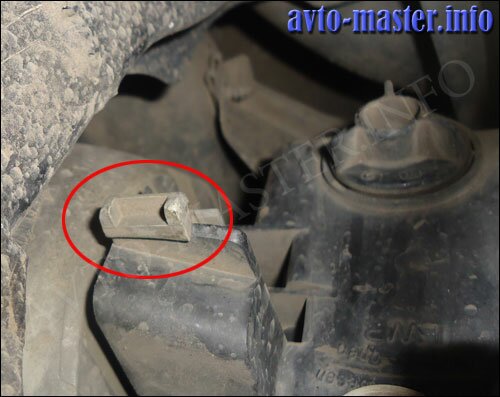
Figure 14 -Latch indicator.
snaps latch arm and move it forward in the direction of movement of the car.
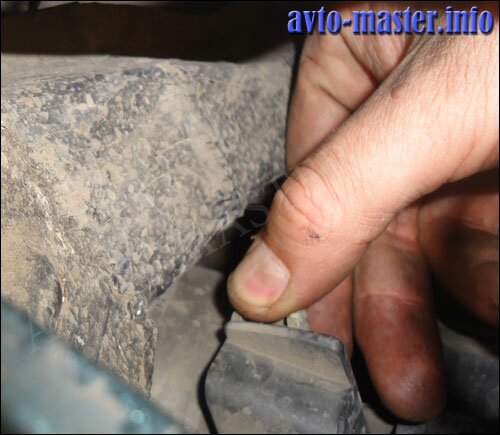
Figure 15 -latch snaps.
Nowblinker in our hands and we can not prepetstvenno replace the lamp in it.
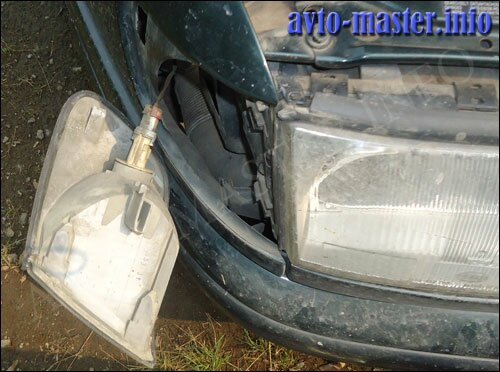
Figure 16 -Removing the turn signal.
Replacing front fog light bulb.
To replace bulbs in the fog lamp will need to remove it first.
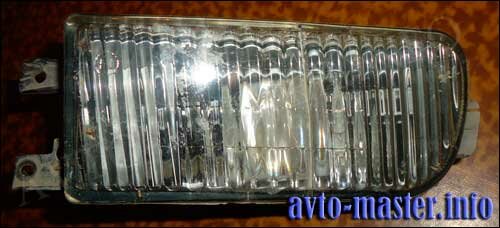
Figure 17 -Fog Light.
When light is already in our hands we turn on her back 2 bolts and remove the rear cover.
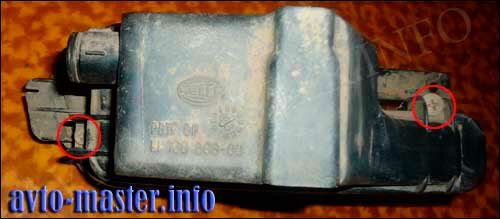
Figure 18 -Bolts rear fog lamp cover.
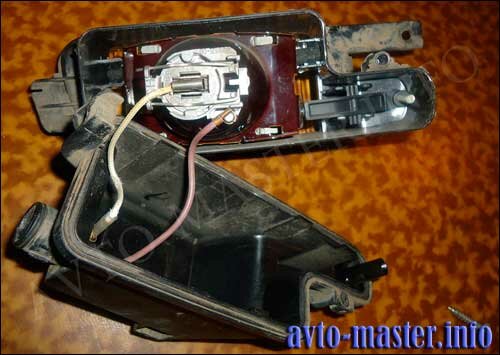
Figure 19 -Fog lights with the back cover removed.
Otschelknuv latch, pull out the bulb.
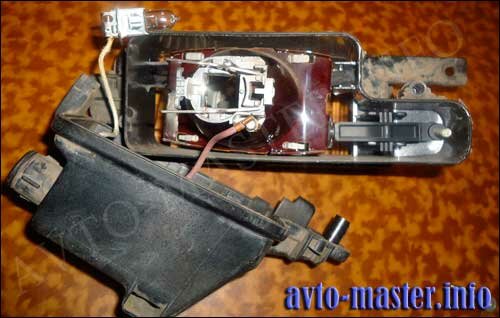
Figure 20 -Remove the bulb from the fog.
Replacement lamps rear dimensions and stop lights, tail turns.
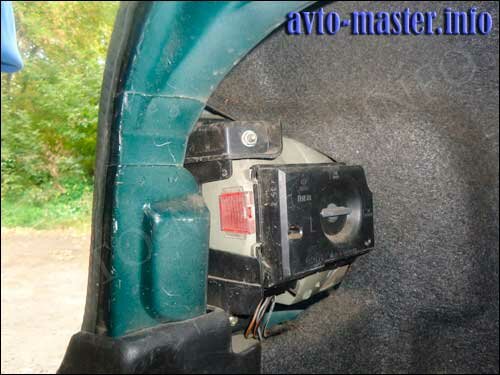
Figure 21 -Cover taillight.
turning counterclockwise and vertically placing the latch, remove the cover of the rear lights.
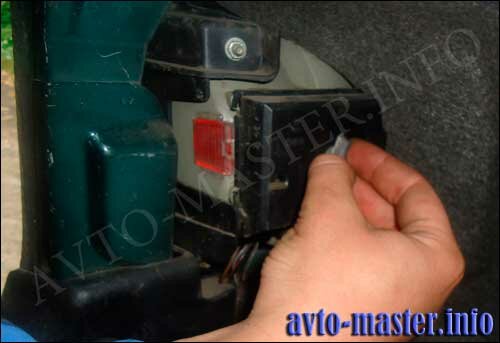
Figure 22 -pivoted latch taillight.
It containsrear lamp dimensions and turns.
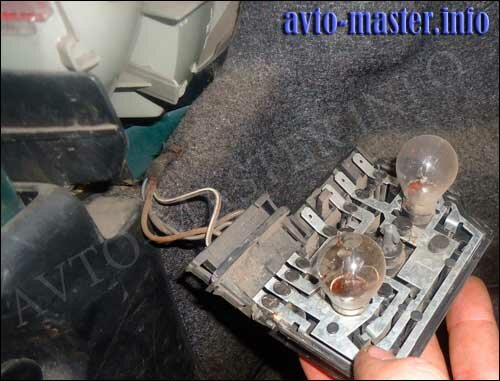
Figure 23 -cover rear lights with lamps and turn signals stop.
To replace one of the lamps and press on it and turning counterclockwise, remove it.
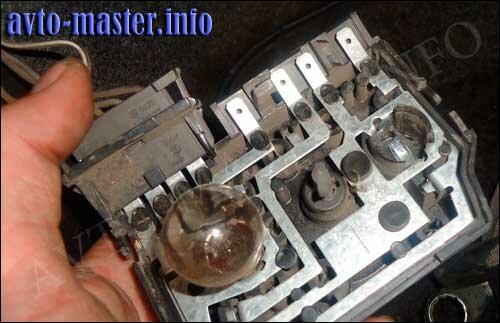
Figure 24 -Removed the lamp turn.
Replacement lamps reversing lights and rear fog lights.
To get to the rear fog light and reversing lights, you will need to remove the tailgate trim by removing 6 screws and pull forward to releasing latches.
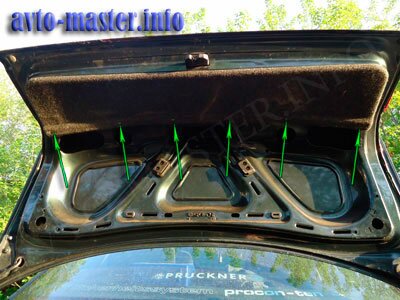
Figure 25 -Bolts trim tailgate.
White Insert -fog lamp, black -reversing lamp.
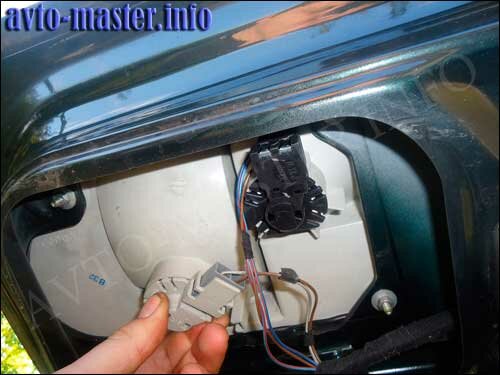
Figure 26 -Remove the cartridge rear fog light.
Slightly turning the sleeve counterclockwise, pull out his.
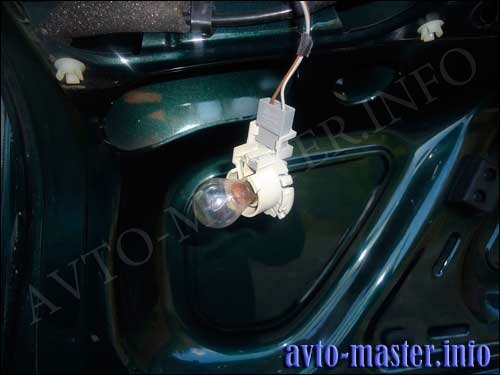
Figure 27 -Removing the cartridge rear fog light.
Similarlyremoved cartridge back lamp.
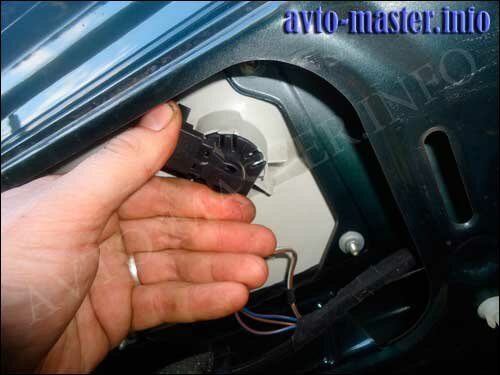
Figure 28 -Remove the bulb holder reverse.
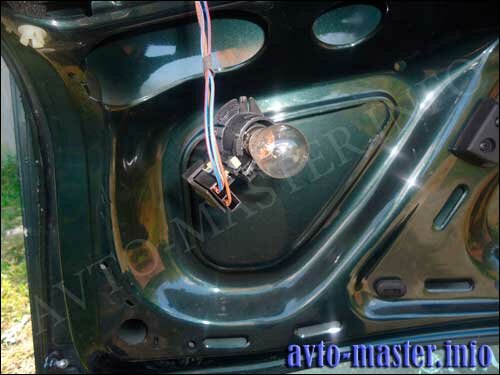
Figure 29 -Removing the bulb holder reverse.
Replacement backlight rooms.
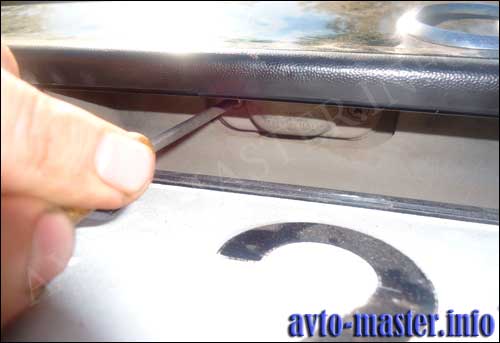
turn away the 2 bolts and remove the glass bulb light plate. I they do not immediately unscrew had initially put on him a screwdriver and hit her several times on the hammer.
Figure 30 -turn away a bolt of fastening of glass light plate.
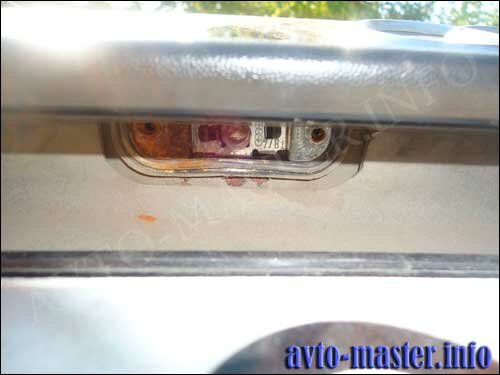
Figure 31 -Highlighting the license plate with a light bulb.
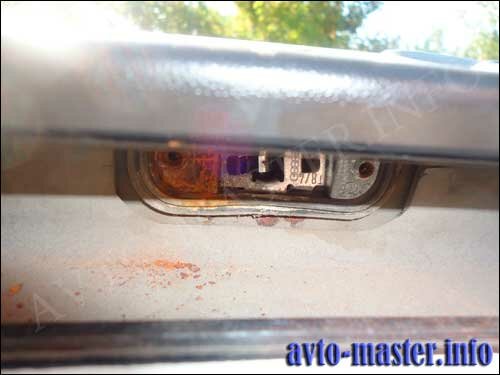
Figure 32 -Highlighting without license plate light bulb.
If you have any questions or have suggestions for this article. Welcome to the forum.


